Setup Google Analytics for a Bitbucket repository
The idea is to create a new Google Analytics property for Bitbucket and then have a separate Google Analytics profiles for each repository. That way I end up with one profile per repository neatly grouped under the Bitbucket property. In the profiles, I also use filters to include only the traffic for the corresponding repository.
This post is about myself setting up Google Analytics for our AVBlocks-Samples repository, so in the steps below I use the “AVBlocks-Samples” name and the corresponding URL. Needless to say, when going through the steps, you will use the name and URL of your own Bitbucket repo. OK, here it goes:
Create a new Google Analytics property called Bitbucket
- Go to Google Analytics and login into your account.
- Click on the Admin link at the top right corner.
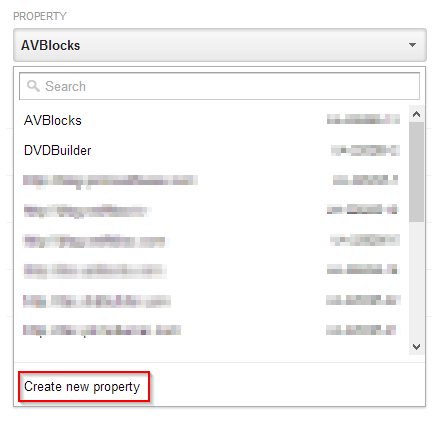
- Click on the property drop-down list and then select the New Property at the bottom.
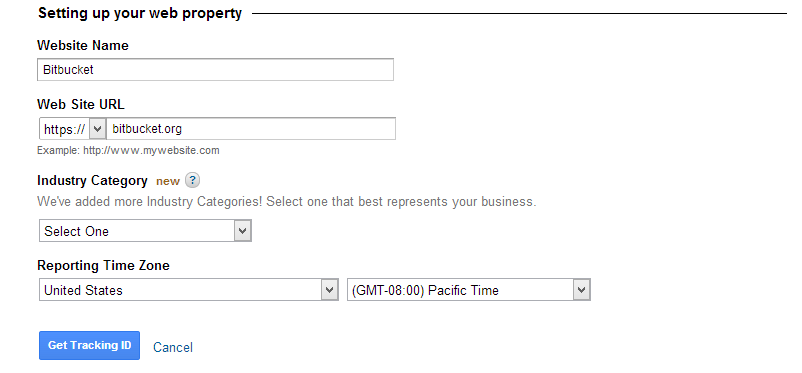
- Select “Classic Analytics” for tracking method.
- Under Website Name, type “Bitbucket”.
- Under Web Site URL, select “https://” and type “bitbucket.org”.
- Click [Get Tracking ID]
Add the Tracking ID to the Bitbucket repository
Google Analytics will generate a new tracking ID for you, something that looks like “UA-123456-78″.
- Copy the Tracking ID that Google generated
- Go to the repository admin page on Bitbucket
- Paste the Tracking ID into the “Google Analytics key” field.

## Update the Google Analytics profile
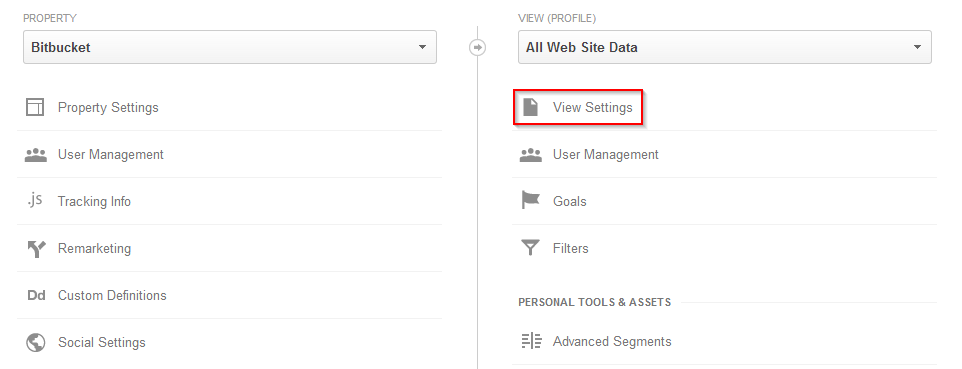
- Go back to Google Analytics admin page
- Select “Bitbucket” for property
- Select “All Web Site Data” for profile
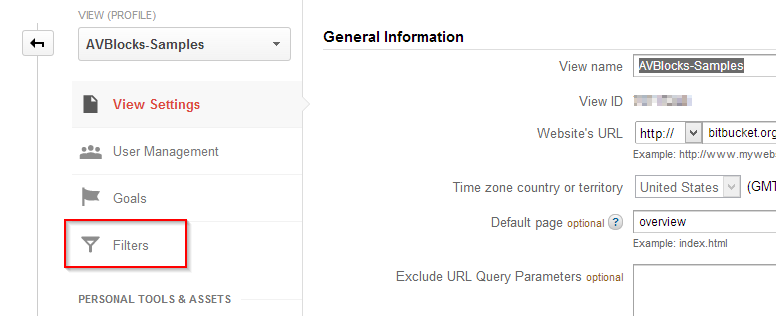
- Click “View Settings”
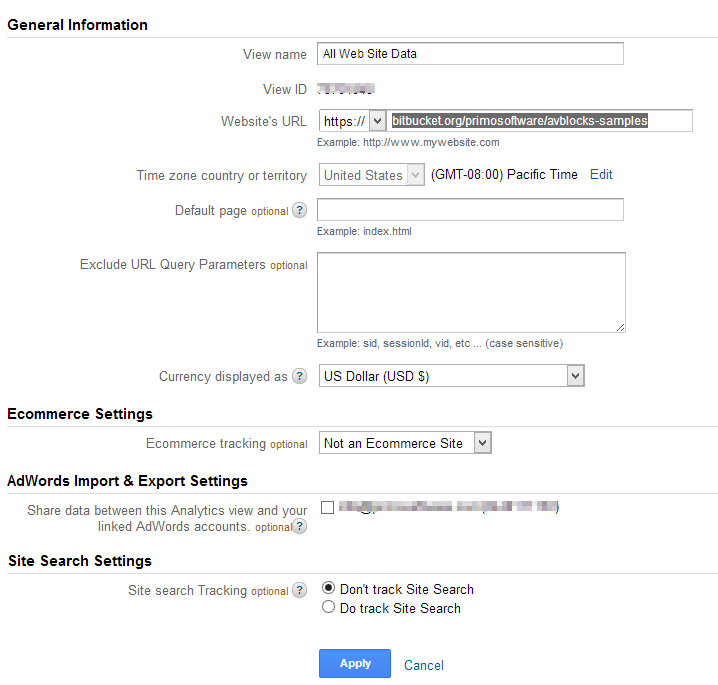
- Update the Website’s URL with the full URL of your bitbucket repository.
- In my case I put “https://” and “bitbucket.org/primosoftware/avblocks-samples”.
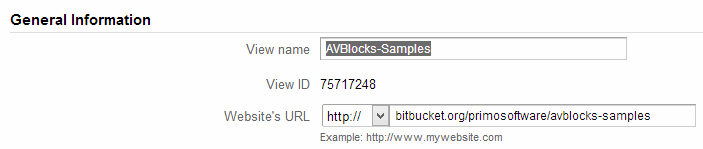
- If you plan to have multiple repo profiles under the Bitbucket property, I recommend changing the View name to something other than “All Web Site Data”. I my case, I named my property “AVBlocks-Samples”.
- Click Apply.
Setup a profile filter
- Go back to Google Analytics admin page
- Select “Bitbucket” for property
- Select “AVBlocks-Samples” for profile
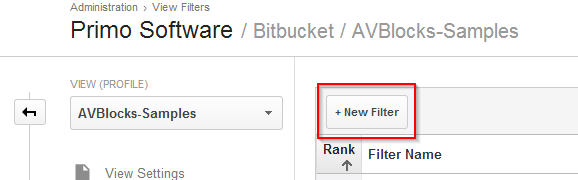
- Click “View Settings”
- Click “Filters” and then on the +New Filter button.
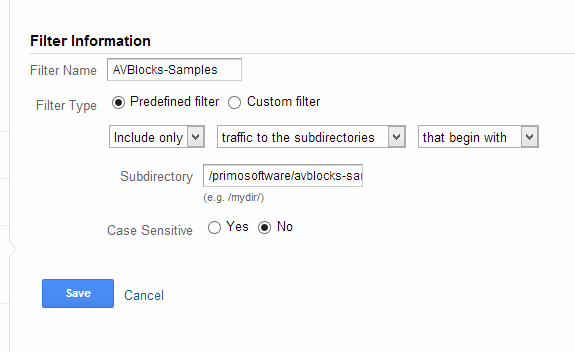
- Type “AVBlocks-Samples” for Filter Name
- Select “Predefined filter” for Filter Type
- Select “include only”, “traffic to subdirectories”, “that begin with”
- Type “/primosoftware/avblocks-samples/” for Subdirectory
- Select “No” for Case Sensitive
- Click Save